Mailinmypocket
International Hazard

Posts: 1351
Registered: 12-5-2011
Member Is Offline
Mood: No Mood
|
|
Ampoules from Glass Tubing, for Small Samples or Miniature Element Collections
Here is a quick and easy procedure to make small ampoules from standard glass tubing. These ampoules are great for storing the results of small scale
syntheses, various curiosities and also for making awesome miniature element collections.
Pasteur pipettes can be used in lieu of glass tubing but they are more fragile, and more useful in the lab as pipettes- generally speaking. Glass
tubing can be bought cheaply in a variety of sizes, and cut to whatever length you need.
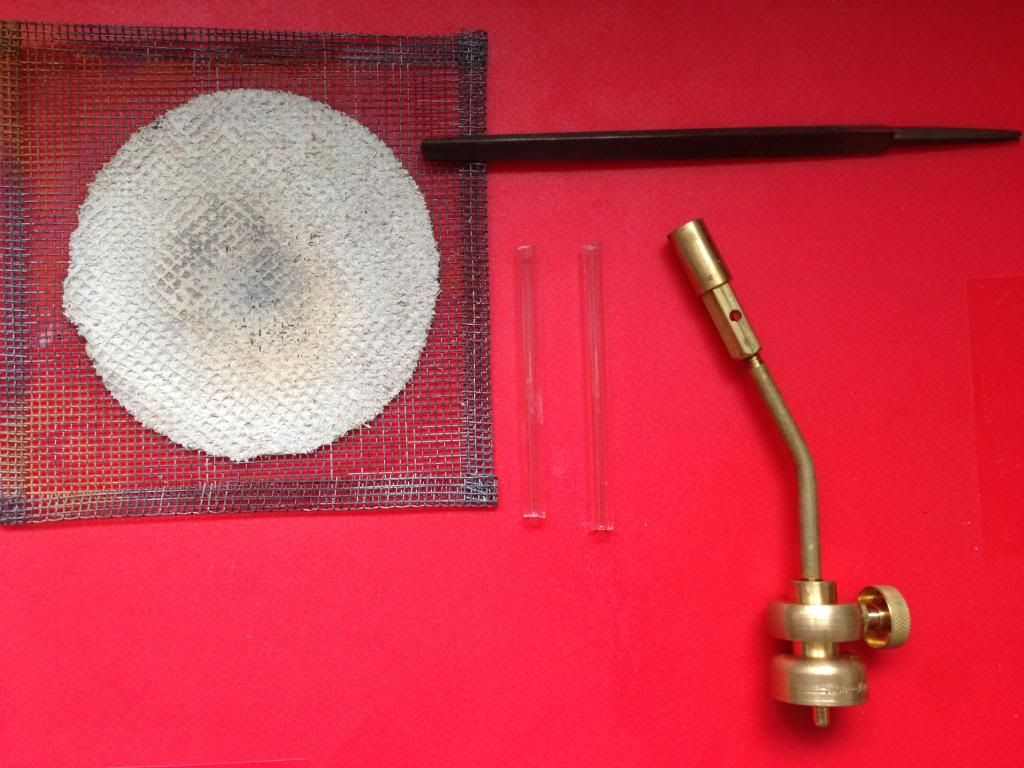
What you need:
-Blowtorch with pointed flame tip
-Glass file
-Glass tubing, preferrably larger diameter, 7mm+
-Surface to cool the tubes on... Asbestos mats work great, wire gauze as well, etc.
What you need:
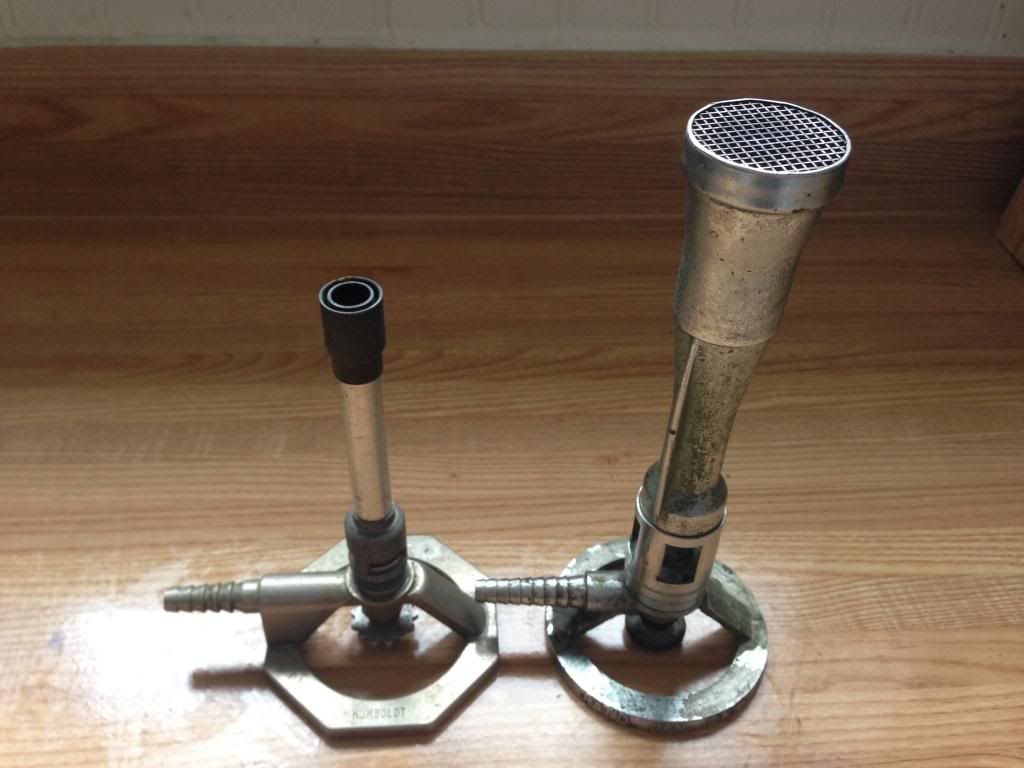
Having tried the two most popular burner types found in the lab (seen below) I have found that a standard blowtorch with a very pointed flame is best.
A Bunsen (or Tirill) makes a bulky flame that heats a large portion of the tube, the Mekker burner - well, obviously is worse. This is not to say they
cannot be used, though. The benefit of the blowtorch will be shown below.
Burners, older than I am:
Nice pointy flame:
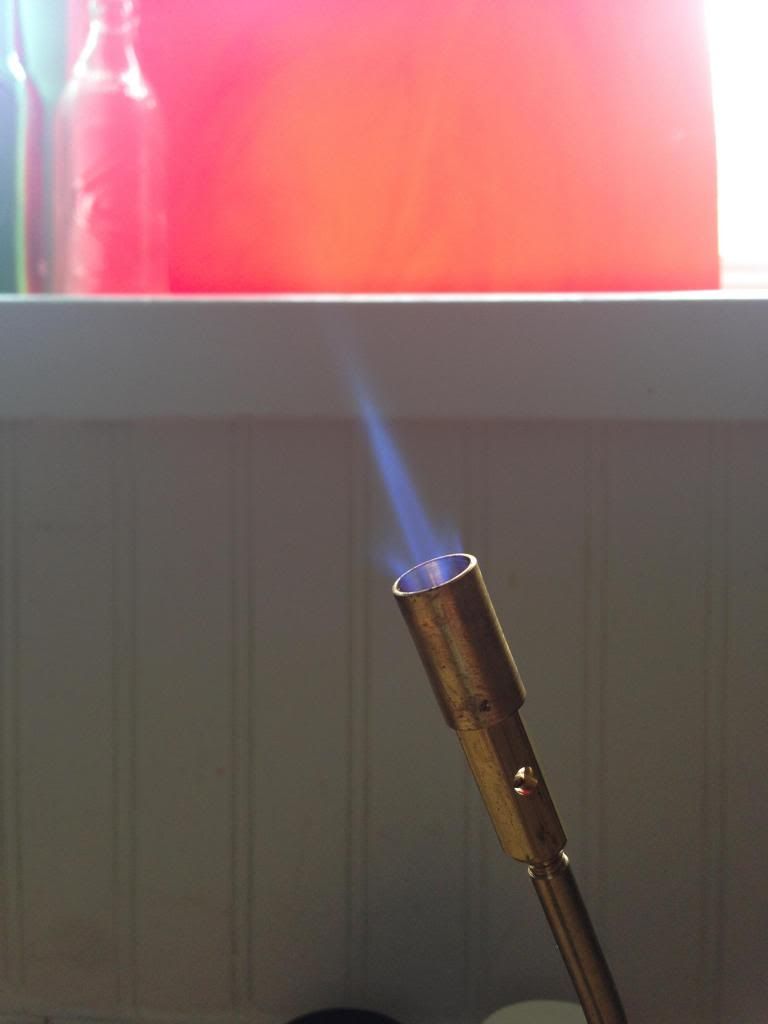
Now, the advantage to the torch is that the flame is angled. This allows you to hold the tube vertically in the flame without burning your fingers or
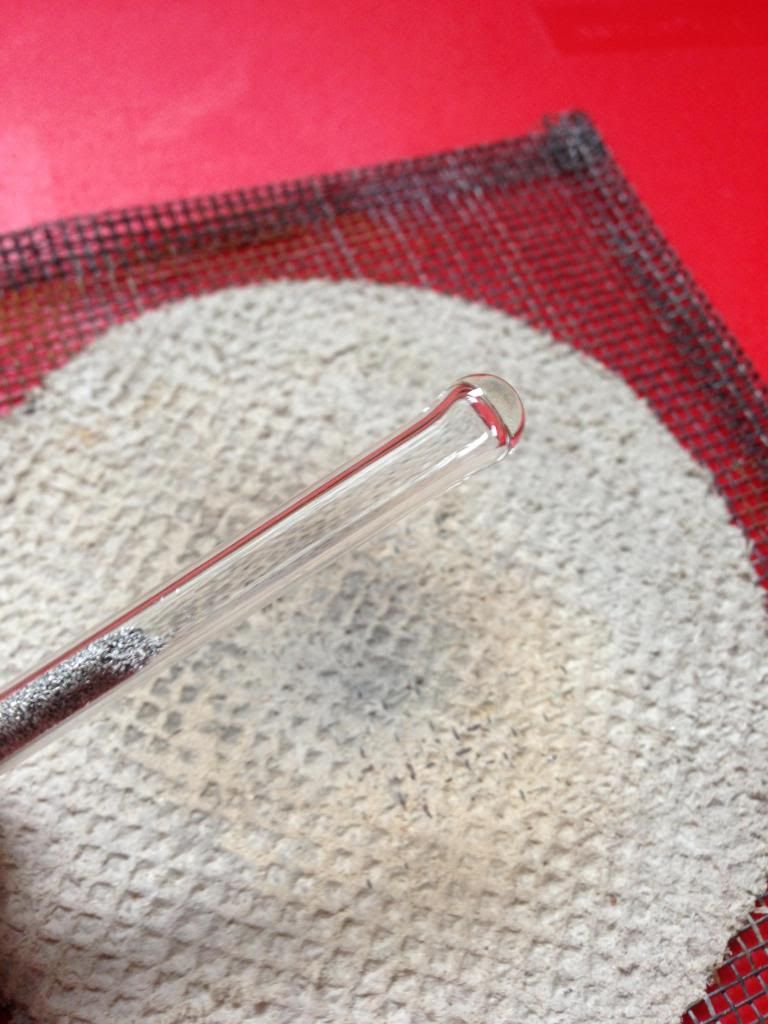
needing a special tool to hold it. Just rotate the tube to heat evenly and let gravity do the work. A nice molten drop of glass should form. When
satisfied with the look and seal- place the tube on a heat resistant surface. Asbestos heating gauzes work great for this.
Start heating, while rotating, as vertically as possible:
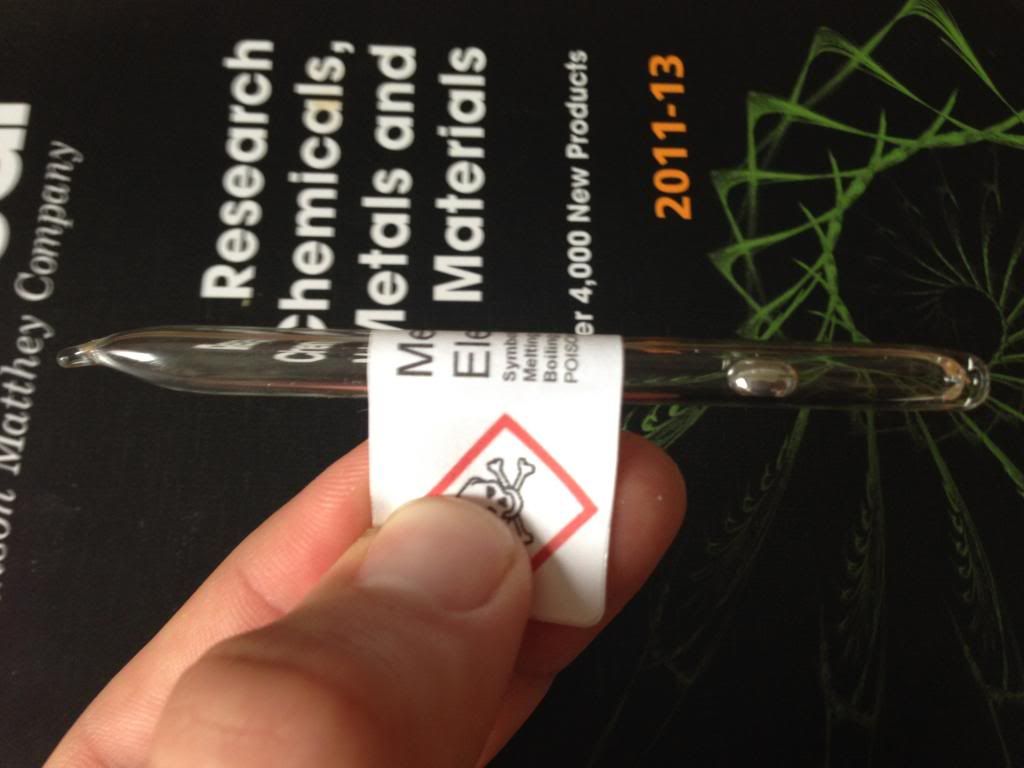
Done!

I made two:
Now the tubes are ready to be filled, although they contain residual moisture. Pass them through the flame of any burner of your choice to drive out
the visible moisture and set them down to cool (use tongs or forceps for this). At this point I like to seal the ends with a small piece of Teflon
tape to prevent moisture from getting back in and having ampoules that are dry and ready to fill.
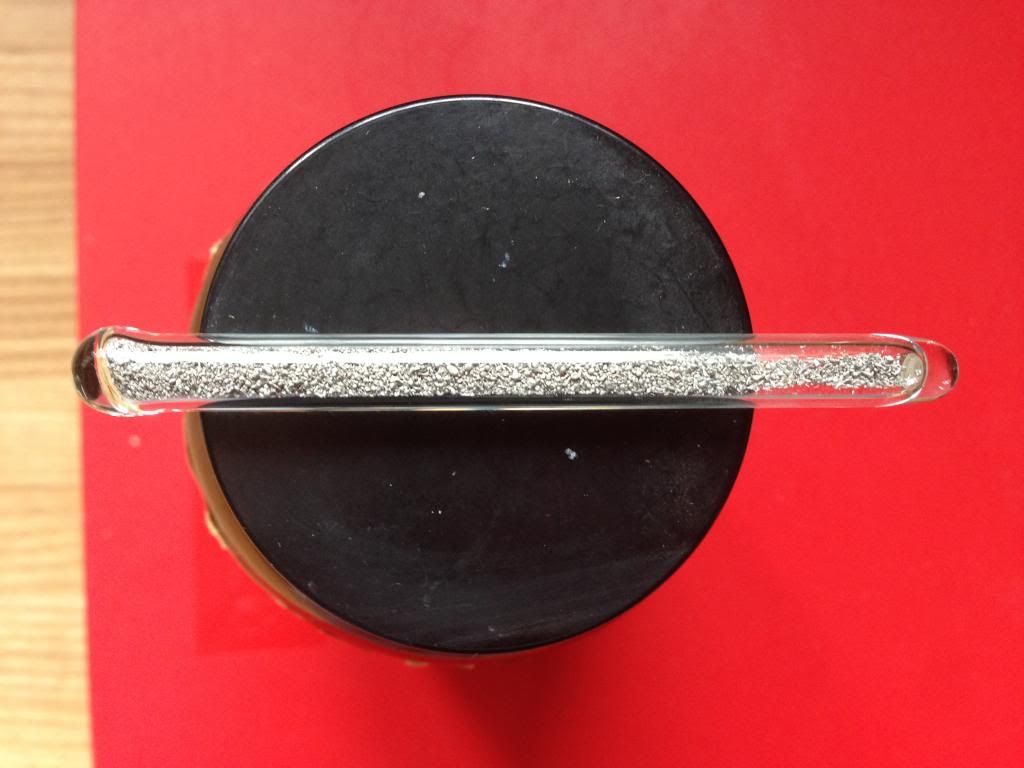
Filling the tube is straightforward, do it in whatever manner is easiest. I used aluminum granules just to demonstrate the idea.
Aluminum!
The sealed top is not usually as elegant looking as the bottom, since you can't hold the tube in the flame upside down for obvious reasons. There are
two ways to seal it. It comes down to personal preference. Firstly, you can hold the tube as horizontally as possible, while rotating in the flame and
melt the tip so that it seals itself. Sometimes this makes a "chubby" looking seal which is perfectly functional, just not as visually appealing.
Start heating horizontally, as long as the solid doesn not migrate to the hot end:
Done!
Second method (the only option for liquids) is to heat maybe 1cm from the opening to soften the tube just before it, while rotating. When the glass
starts to soften remove the tube from the flame and pull the open end of the tube with pliers to stretch the glass into a pipette type end.
Then break the thin area and seal the tip in the flame. This makes a nicer looking tip but takes a bit more practice. Its just glass tubing and it
cheap though so practicing is not an issue.
Either way this makes a cheap and easy way of sealing samples that are sensitive etc.
Finished Al sample:
[Edited on 4-10-2013 by Mailinmypocket]
|
|
|
elementcollector1
International Hazard
Posts: 2684
Registered: 28-12-2011
Location: The Known Universe
Member Is Offline
Mood: Molten
|
|
In my experience, this method develops cracks or 'pinholes' that won't seal very frequently. I heat the tube/ampoule a ways down from the end, perhaps
half an inch. Then, I take a pair of pliers and very gently pull the end off, making a sharp point which is rounded down by the torch. However, I
noticed that when some kerosene was on the inside of the tubing, it refused to 'round', and instead stayed a point, with the kerosene charred to what
is presumably carbon.
Elements Collected:52/87
Latest Acquired: Cl
Next in Line: Nd
|
|
|
Mailinmypocket
International Hazard
Posts: 1351
Registered: 12-5-2011
Member Is Offline
Mood: No Mood
|
|
With volatile liquids perhaps but for sealing solid compounds I have never had that problem. For volatiles like bromine I have found that keeping the
liquid under some dry ice snow prevented excessive pressure buildup which stopped the pinhole formations. I did note that for liquids that is the
method to use though:
"Second method (the only option for liquids) is to heat maybe 1cm from the opening to soften the tube just before it, while rotating. When the
glass starts to soften remove the tube from the flame and pull the open end of the tube with pliers to stretch the glass into a pipette type end.
Then break the thin area and seal the tip in the flame"
As you can see, there are no pinholes in the sample made above, in the case of a solid anyways.
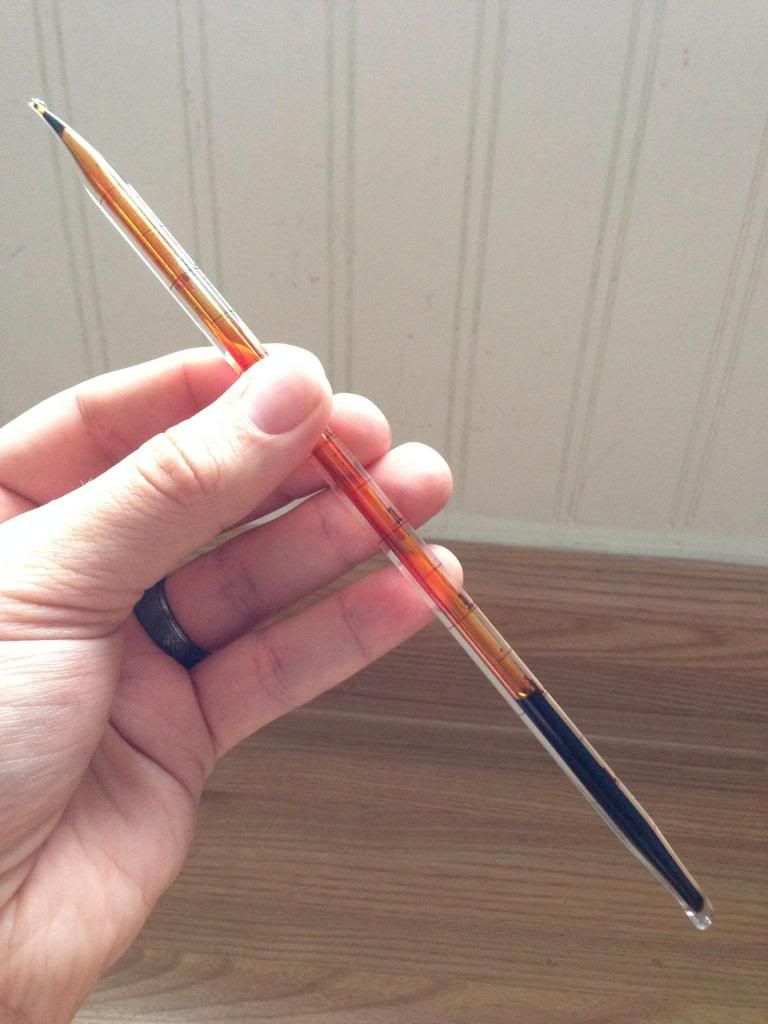
Here is an "ampoule" although it is more of a recycled borosilicate pipette. It's a sample of bromine which I made about 2 years ago. It did cause
some problems with the final top seal with pinholes, so I had to cool the bromine portion in dry ice and strongly heat the other end and pull with
pliers. I wouldnt recommend using borosilicate without an oxygen supplemented burner. It simply is not hot enough to make work easy!
[Edited on 4-10-2013 by Mailinmypocket]
|
|
|
BobD1001
Hazard to Others
Posts: 182
Registered: 29-3-2013
Member Is Offline
Mood: No Mood
|
|
This is a great method of ampouling samples. I use it regularly for reactive (or gas samples) for my element collection. I cough a large box of
pipettes from Carolina specifically to use for ampoules, although I have found some other great uses for pipettes as well.
|
|
|
|


